Twilio Flex
Setting up the account
- Go to your organization's Integrations page in Askribe
- From the Handoff to Agent section, click on the + Account button
-
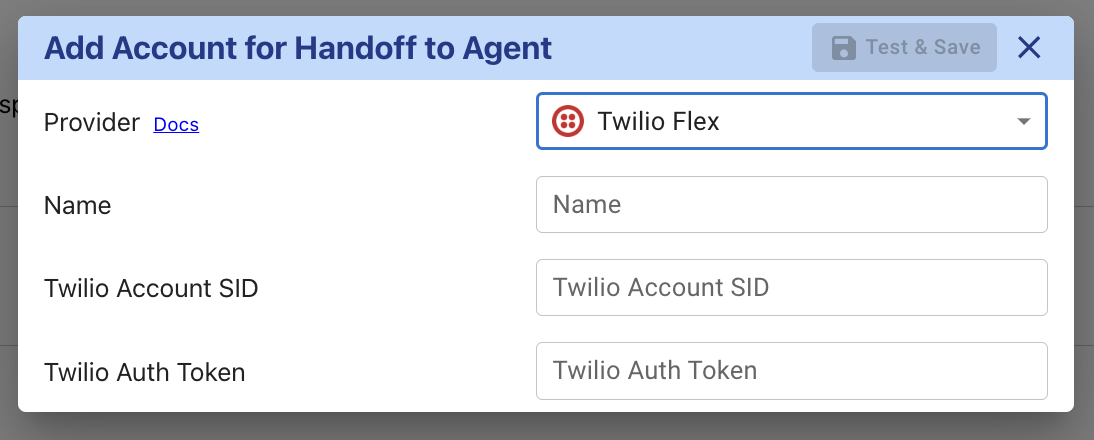
- Give a custom name for your integration
- Go to the Twilio Flex console
- From the account info section, copy the Account SID and Auth Token
- Paste the values in the Account SID and Auth Token fields in the Askribe integration settings screen and click on Save
- Select the workspace where you want to use this integration
- Click on Save
- That's it! You have successfully connected your Twilio Flex account to Askribe. Now you can use this integration in the Handoff to Agent block in your Conversational flows.
Setting up webhooks
- Go to your Twilio Flex console and select the Workspaces option under the TaskRouter section
-

- Select your workspace from the list of workspaces
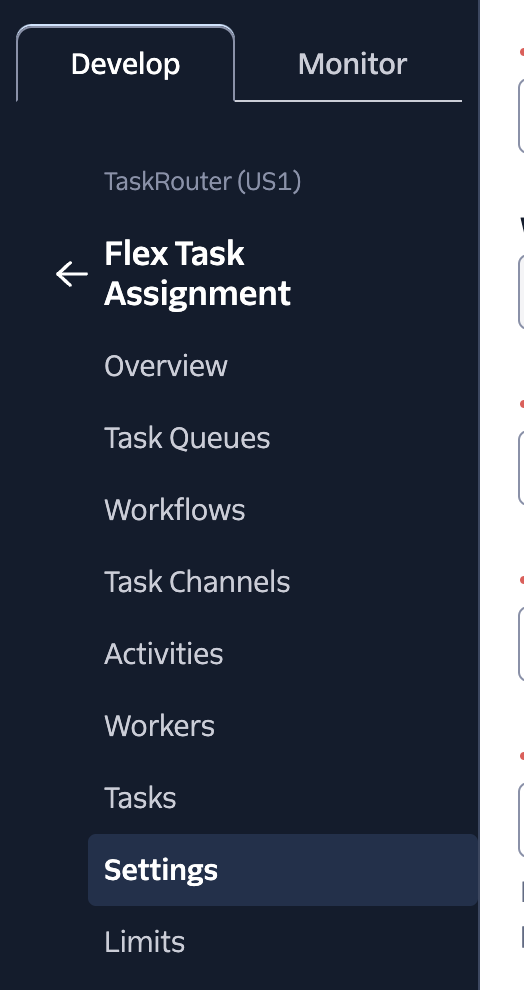
- Select the Settings option under the Flex Task Assignment section
-
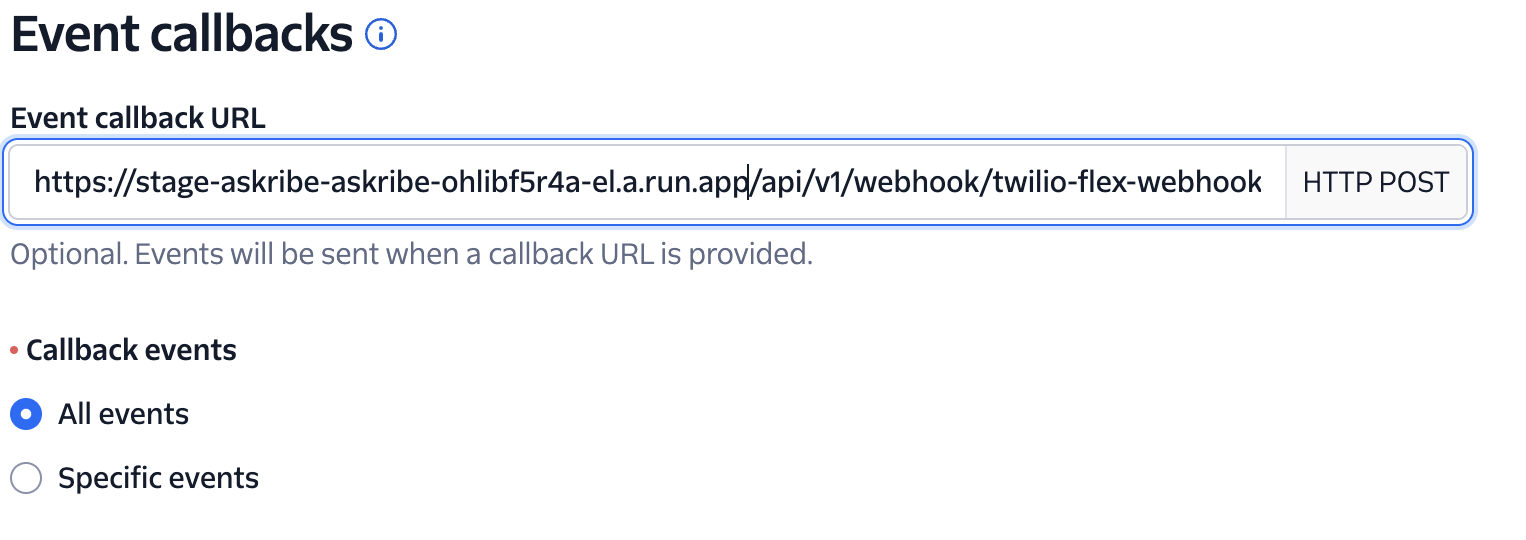
- Scroll down to the Event Callbacks section
- In the Event Callback URL field, put
https://stage-askribe-askribe-ohlibf5r4a-el.a.run.app/api/v1/webhook/twilio-flex-webhook - Make sure that the option All Events is selected in the Event Type radio button
- If you have done everything correctly, you should see the following screen:
-
- Click on Save
- Click on Create webhook and then Save
Handing the conversation back to Askribe
- Log in to your Twilio Flex account
- Go to the Flex UI plugins page
- Install the Askribe plugin