
Zoho SalesIQ

Setting up the account

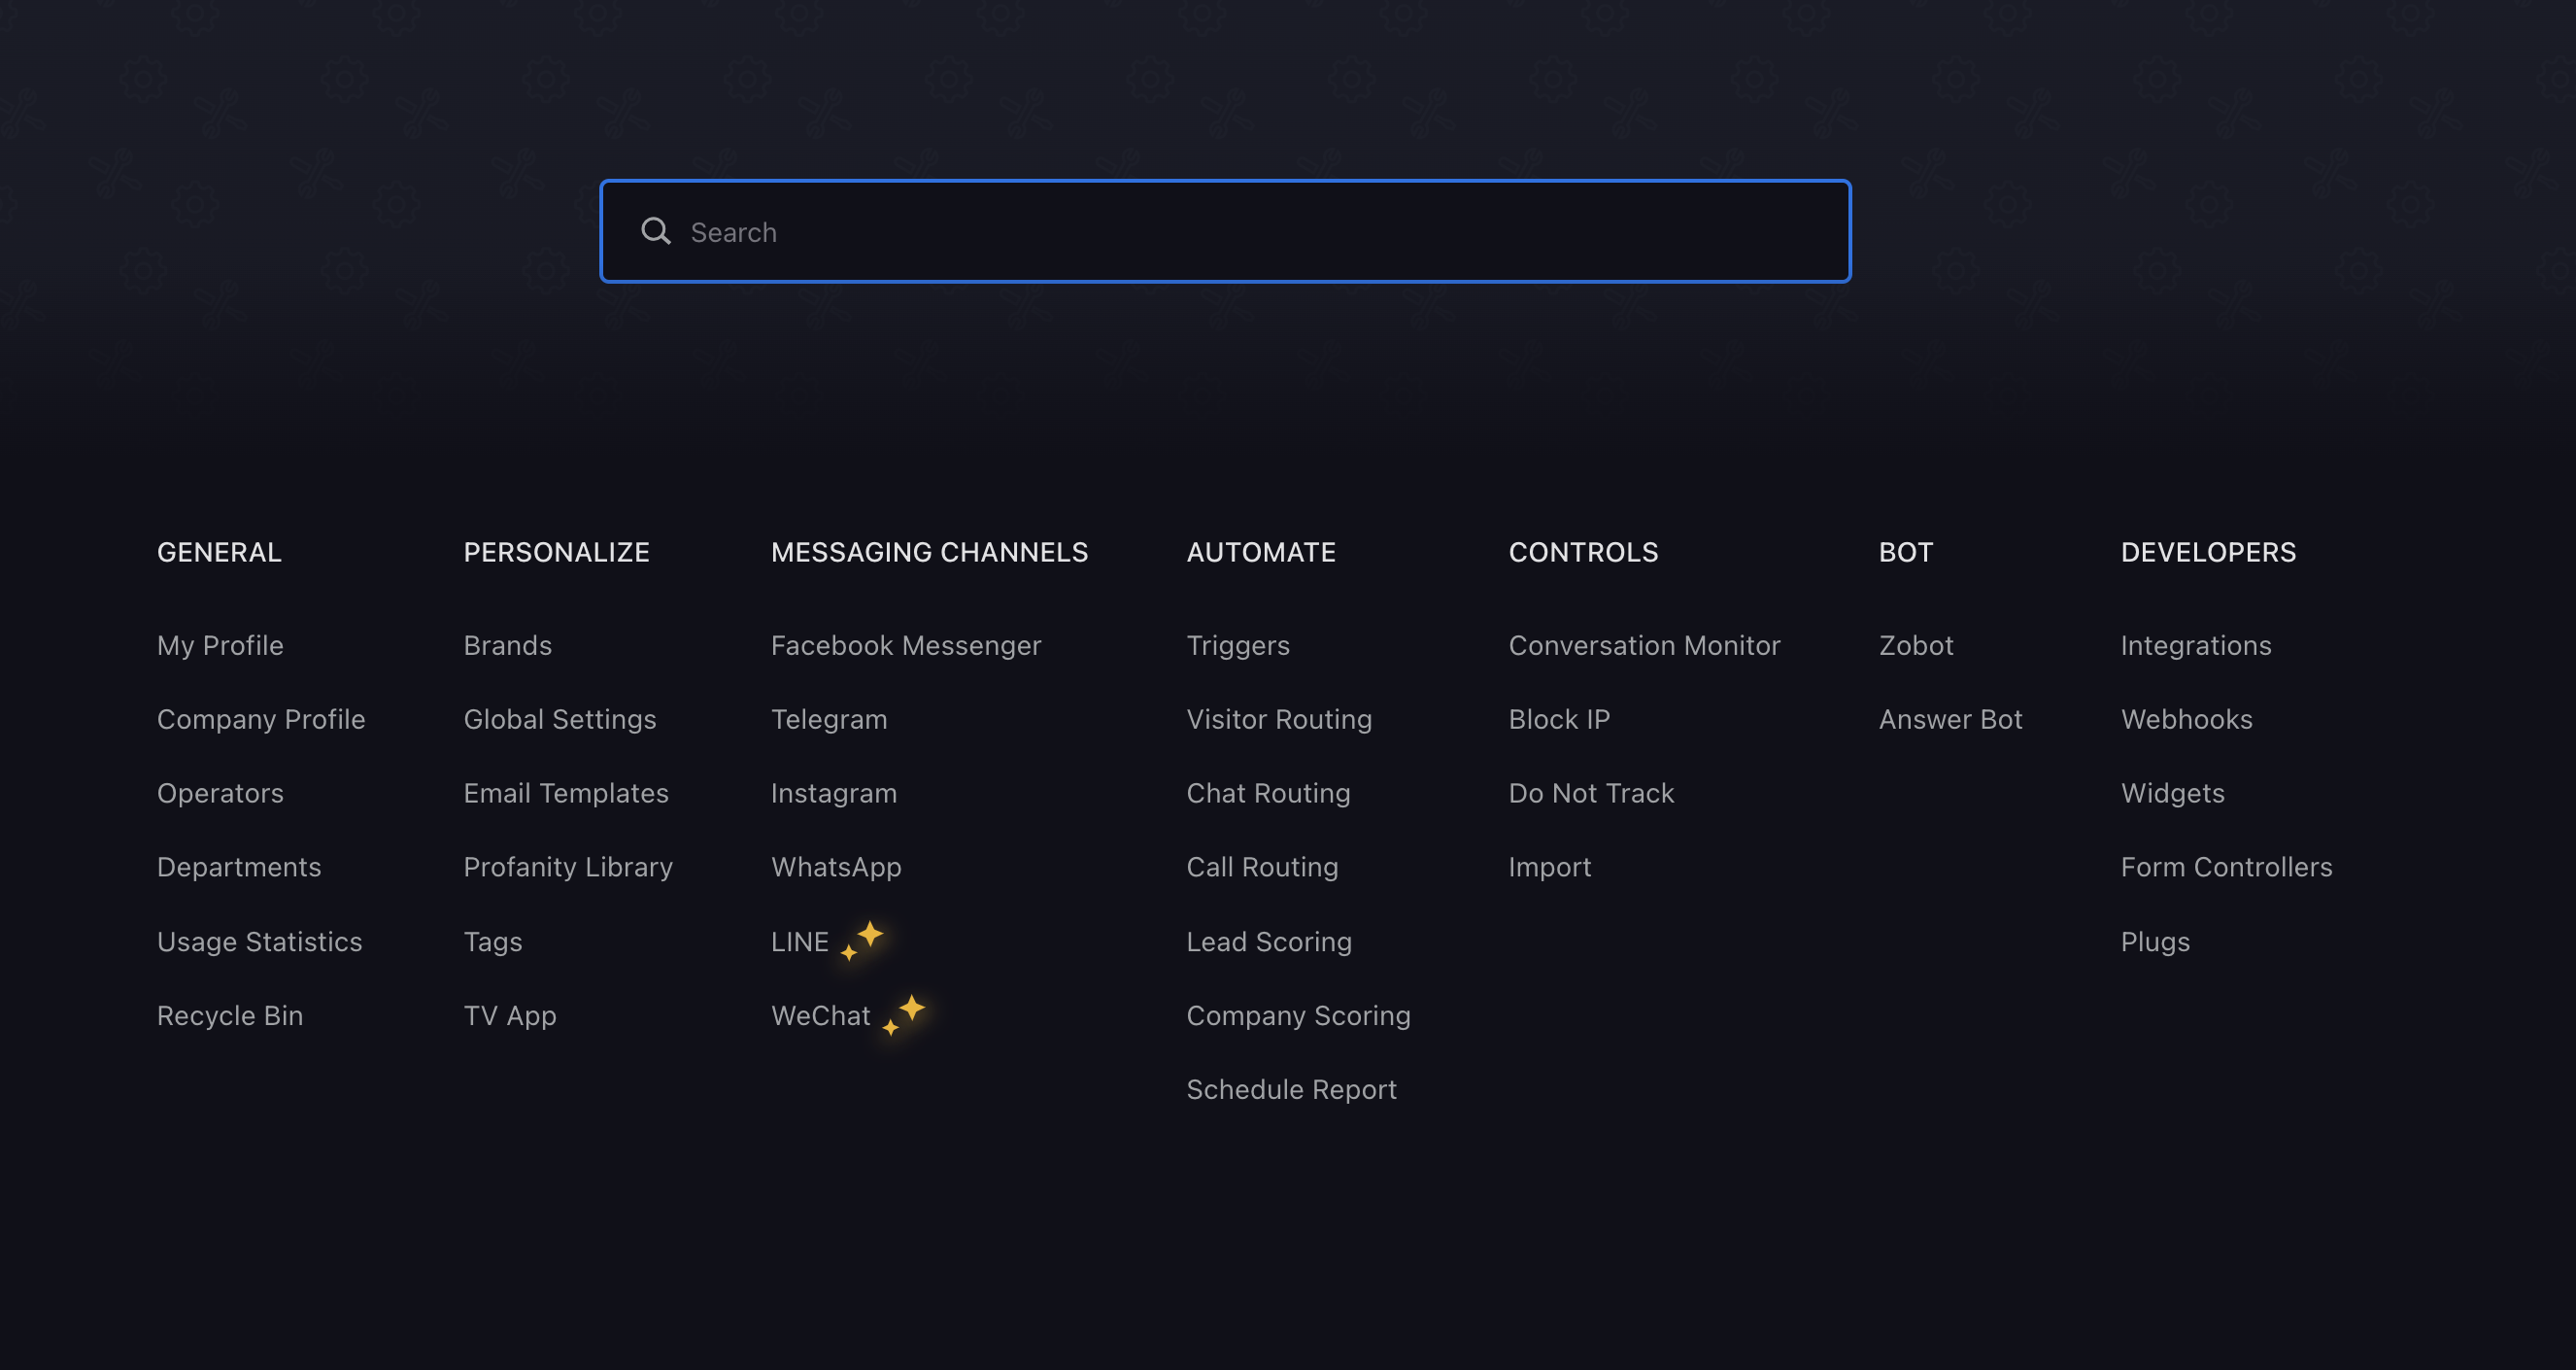
  • Go to your organization's Integrations page in Askribe
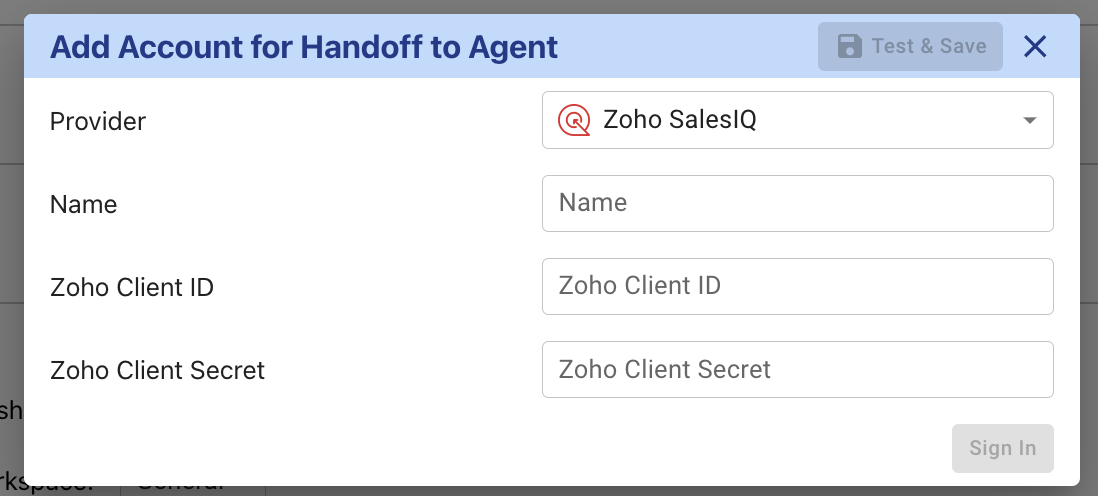
  • From the Handoff to Agent section, click on the + Account button
  • Give a custom name for your integration.
  • To obtain the details for the API connection, follow the steps for "Server side application" as outlined here
  • In the Client name field, put Askribe
  • In the Homepage URL field, put https://askribe.askribe.com/
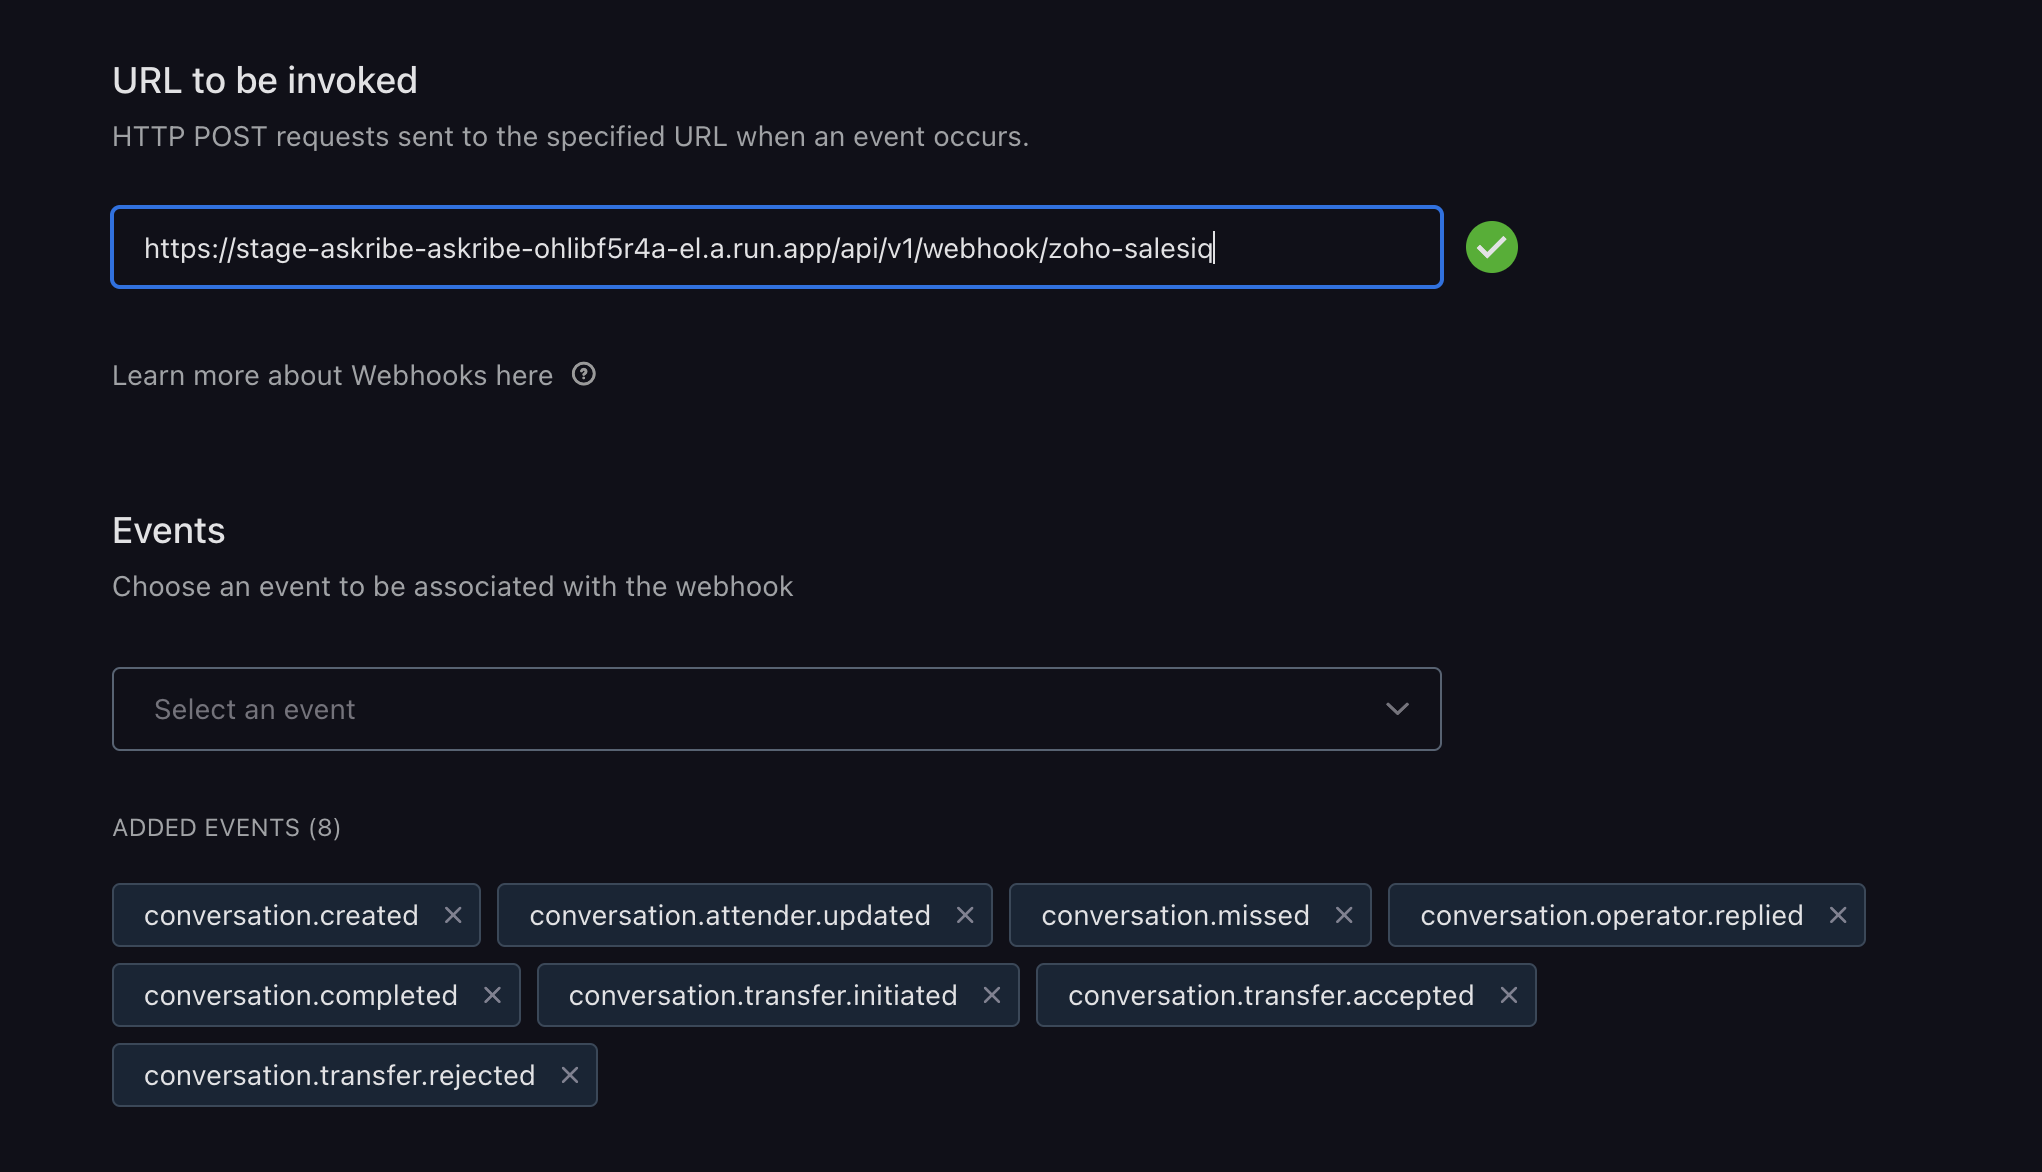
  • In the Redirect URL field, put https://common.askribe.com/oauth_redirect
  • Click on Save which will take you to Client Secret Panel
  • Copy the Client ID and Client Secret and paste it in the corresponding fields in the Askribe integrations page.
  • In the Asktibe Integrations page, click on Sign In
  • You will be redirected to Zoho to authorize the connection
  • Once you have authorized the connection, you will be redirected back to Askribe. Click on Save
  • Select the workspace where you want to use this integration
  • Click on Save
  • That's it! You have successfully connected your Zoho SalesIQ account to Askribe. Now you can use this integration in the Handoff to Agent block in your Conversational flows.

Setting up webhooks

  • Go to your Zoho SalesIQ portal click on the gear icon on the top right
  • This will open the settings screen
  • From the Developers section, click on Webhooks
  • Select Data modification in the following screen
  • This will open webhook integration screen.
  • Put https://stage-askribe-askribe-ohlibf5r4a-el.a.run.app/api/v1/webhook/zoho-salesiq in the URL field
  • From the event type dropdown, select the following events
    • conversation.created
    • conversation.attender.updated
    • conversation.missed
    • conversation.operator.replied
    • conversation.completed
    • conversation.transfer.initiated
    • conversation.transfer.accepted
    • conversation.transfer.rejected
  • If you have done everything correctly, you should see the following screen:
  • Click on Create webhook
  • You have now successfully created a webhook

Handing the conversation back to Askribe

  • Go to your Zoho SalesIQ portal and select Canned Responses from the left panel
  • Click on Add button from the top right
  • Name your new canned response as "Handback To Askribe"
  • Make sure that Public is selected in the Canned replies type
  • Click on Save
  • You have now successfully created a canned response that can be used to handback control to Askribe